Fleet wrap maintenance starts with a slow, repeatable inspection. You’re looking for fading, lifting edges, surface damage, and differences between vehicles. Those findings help a wrap professional compare repair and replacement paths.
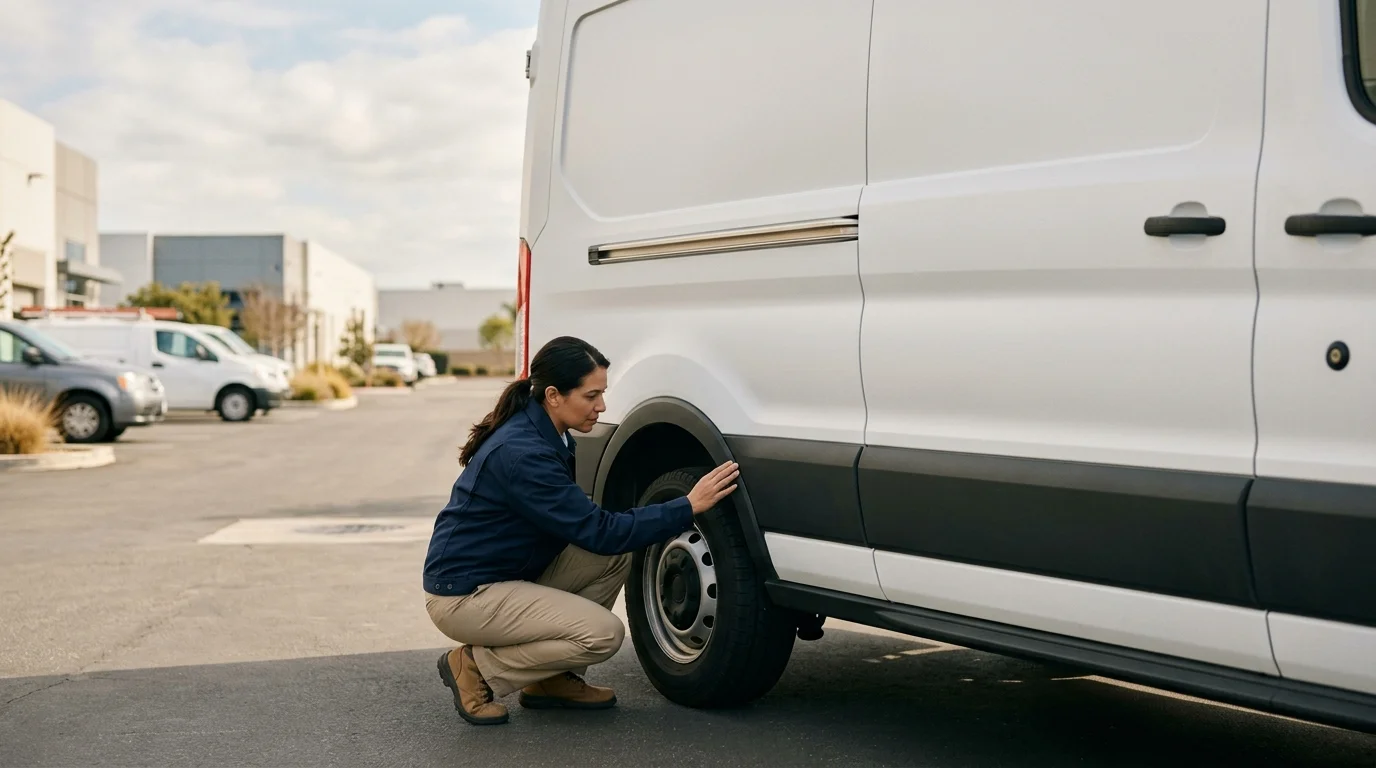
Where wrap wear usually becomes visible first
Start with the places where the vinyl changes direction or meets an opening. Check panel edges, door seams, handles, mirrors, bumpers, wheel openings, and body contours. These inspection points can reveal localized wear that’s easy to miss from several feet away.
Walk around each vehicle at a steady pace. Then repeat the walk from the opposite direction. Changes in light can make dull areas, scratches, or uneven color easier to see.
Inspect the large, flat panels next. Compare the hood, roof, doors, quarter panels, and rear doors. Look for color differences between neighboring panels. A panel can appear consistent by itself but look different beside another section.
Pay close attention to graphics that cross multiple panels. A damaged door graphic may affect the visual alignment of the whole design. Record whether the issue sits inside one panel or crosses a seam. That distinction matters when a pro evaluates commercial vehicle wrap repair.
Also inspect areas used during normal work. Loading doors, toolbox access points, step areas, and frequently handled doors deserve individual notes. Don’t assume every mark comes from the same cause. The goal is to document what’s visible before asking for a diagnosis.
For a broader view of coverage and commercial options, review our commercial fleet wraps service. Our guide to commercial fleet wraps in San Diego also explains how vehicle type and graphic scope shape the original project.
Create three condition labels for the inspection: acceptable, watch, and professional review. Keep those labels consistent across the fleet. They’ll make the next inspection easier to compare.
How parking, routes, and washing affect inspection
Parking and route records add context to visible wear. They don’t replace a professional assessment, but they can reveal patterns across several vehicles.
Note whether each vehicle normally parks outdoors, under a structure, or inside. Record whether its usual parking position keeps the same side facing one direction. A comparison between the driver and passenger sides may help you identify an uneven appearance.
San Diego routes vary widely. A van traveling Interstate 5 through Oceanside, Carlsbad, and central San Diego has a different operating record from one serving El Cajon, Santee, or Escondido. South Bay routes near Chula Vista and San Ysidro add another useful comparison. Record the actual route history instead of assigning a cause from appearance alone.
The same approach applies to washing. Keep the installer’s written care instructions with the fleet record. If those instructions aren’t available, ask the installer what process and products fit the installed material. Don’t invent a cleaning rule from a generic label or online tip.
For every vehicle, record:
- Who normally washes it
- Where it’s washed
- How often the current routine occurs
- Whether the routine recently changed
- Which written instructions the wash provider received
- Whether a new mark appeared after a documented event
Inspect comparable vehicles under similar lighting and surface conditions. A dusty panel and a recently washed panel won’t give you a useful visual comparison. Photograph the full vehicle first, then move closer to the affected area.
Outdoor exposure can raise questions about service life, but there’s no approved lifespan figure that applies to every wrap. Material, installation, paint condition, use, and written warranty terms all matter. Our article on how long a car wrap lasts outdoors explains how to frame that discussion without relying on a universal number.
When one panel may need separate attention
One damaged panel doesn’t automatically answer whether the fleet needs repair or replacement. Isolate the affected section, document it, and let a wrap professional inspect the surrounding material.
Begin with the panel boundaries. Note whether fading, scratches, lifting, or tears stop at the edge. Then check whether the graphic continues onto the next panel. A single door may be physically separate while remaining visually connected to a larger logo or color field.
Photograph the panel straight on. Add wider images showing the vehicle’s full side. Include matching views of the same panel on similar fleet vehicles. Those comparisons help the pro see whether the concern is isolated or part of a broader change.
Don’t promise that a replacement panel will match the surrounding wrap. Existing film may differ in appearance from newly installed material. The wrap professional needs to compare the current finish, available material, graphic files, and neighboring panels before recommending a path.
Paint condition also matters. Wraps are removable and protect the paint beneath, but the quality of the outcome depends on the surface. Wrap adhesion can lift failing clear coat. A professional should assess the surface before removal or new installation begins.
Ask the pro to separate three possibilities in the written recommendation:
- Attention limited to the affected edge or area
- Replacement of one complete panel
- Replacement of a larger graphic section or wrap
These aren’t interchangeable scopes. A small visible defect can sit inside a design that spans several doors. A larger worn area may still be limited to one removable body panel. The inspection should determine the proposed scope.
Commercial and fleet wrap work is quoted per vehicle and fleet size. Your installer confirms the written price after reviewing the actual condition and requested result.
How to document condition across several vehicles
A fleet inspection becomes useful when every vehicle follows the same record. Random photos and text messages make changes harder to compare later.
Give each vehicle a stable identifier. Use the unit number already recognized by drivers, dispatchers, and maintenance staff. Add the vehicle type and graphic version if your fleet uses more than one layout.
Create the same photo sequence for every unit:
- Front three-quarter view
- Driver-side full view
- Rear view
- Passenger-side full view
- Roof view when it’s already accessible through an established process
- Close views of each documented concern
- Wider context for every close view
Name each file with the unit number, inspection date, side, and panel. A file called Unit-12_2026-09-03_driver-door carries more value than a phone’s automatic image number.
Keep written notes short and observable. “Upper rear edge lifted near the door seam” is useful. “Bad installation” assigns a cause that the inspection hasn’t established. Record what you can see, where it sits, and whether it has changed since the last documented review.
Use the same vocabulary across the fleet. Choose terms such as fading, dull area, lifted edge, tear, scratch, missing section, stain, or panel mismatch. Add measurements only when your team can record them consistently. Include a reference object in close photos if scale matters.
Link the inspection log to the fleet’s deployment records. The installation date, graphic version, installer documents, care instructions, and written warranty should stay with each unit. If vehicles entered service in stages, don’t treat the oldest and newest installations as direct visual twins.
For fleets still adding vehicles, our fleet wrap rollout planning guide explains how to organize graphics and vehicle groups. That same structure can support future condition tracking.
What to ask before repair or replacement
Send the wrap professional a clear package before requesting a recommendation. Include unit identifiers, consistent photos, parking notes, route context, current washing records, and the original paperwork you have.
Ask direct questions that produce a usable written scope:
- Is the concern limited to one panel or part of a larger section?
- Does the neighboring film affect the expected visual match?
- What surface condition needs attention before new material is applied?
- Will removal expose paint that needs a separate assessment?
- Does the graphic file need revision or only reproduction?
- Which care instructions apply after the proposed work?
- What warranty applies to the proposed material and labor?
- Which exclusions should appear in writing?
- Is the quote for one vehicle, a group, or the full fleet?
- What approvals are needed before work begins?
Your installer should confirm the film warranty in writing. Don’t rely on a general lifespan claim or assume the original terms automatically apply to later repair work.
Ask for separate written scopes when the choices differ. One scope might address a single panel. Another might replace a connected graphic section. A third might cover broader replacement. Clear scopes let you compare the affected vehicles without treating every wear pattern as identical.
If a factory warranty concern comes up, keep the rule narrow. Under the federal Magnuson-Moss Warranty Act, a manufacturer generally can’t void a warranty merely because an aftermarket product was used, absent a showing that the product caused the failure. The Federal Trade Commission is the authority. That general rule doesn’t decide a specific warranty dispute.
Finally, ask who will approve color, placement, and graphic alignment. Save that approval with the vehicle record. It gives your operations team and the independent wrap professional the same reference before work starts.
When to call us
Call when fading, lifted edges, or panel damage need a professional inspection. We’ll match you with an independent local pro who can compare repair and replacement paths.
Call us at (760) 400-6557 and we’ll connect you with a vetted, insured local pro.