How to inspect PPF for damage
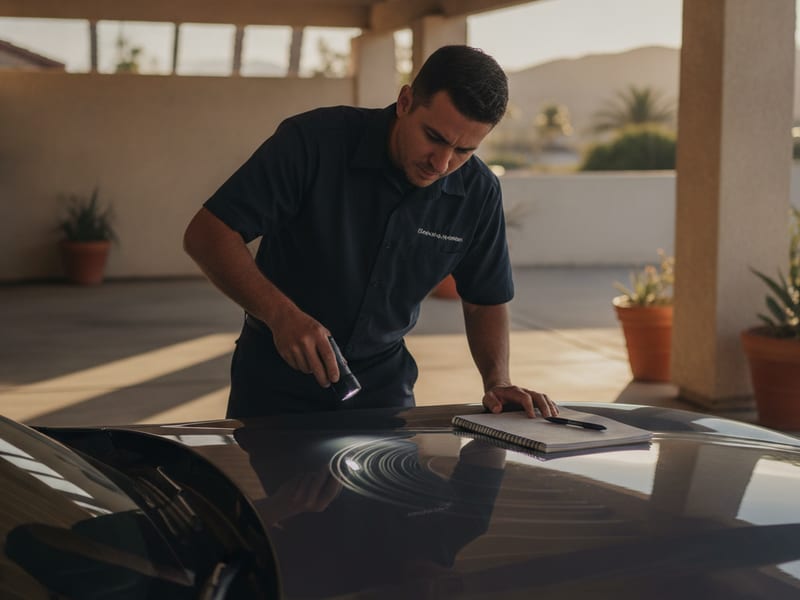
Check clean, dry PPF for lifted edges, discoloration, and impact marks during routine care. Photographs help an installer assess changes without you pulling or heating the film yourself.
What you'll learn
- Where to inspect film edges and road-facing panels
- The difference between normal film texture changes and actual damage
- How to document yellowing without guessing its cause
- What to show the installer when asking about repair or panel replacement
Step by step
- Inspect edges in direct sunlight. PPF edge lifts are easiest to see in bright direct sunlight at a low angle. Walk around the vehicle slowly and look at every film edge. Lifted edges appear as a thin transparent gap between the film and paint. Common lift points: hood leading edge, mirror faces, door handle pockets, and bumper lower edges.
- Check impact zones for cloudy patches. Look for cloudy areas, cuts, and marks on the front bumper, hood, and mirror faces. Some films can recover from light surface scratches under specified conditions, but that does not repair cuts or establish the cause of cloudiness. Photograph persistent marks instead of trying to heat them away.
- Look for discoloration. Compare the film with adjacent unfilmed paint in daylight. Record yellowing, cloudy areas, or changes near edges, including when you first noticed them. Appearance alone cannot establish the cause or whether the film needs replacement; ask the installer to assess it.
- Check areas that collect debris. Look closely at the lower bumper, wheel arches, and sills for dirt collecting at a raised edge. Do not pull, scrape, or try to re-stick the film. Show the installer photographs so they can assess whether that piece can be corrected or needs replacement.
- Document what you find. Take a photo of any area that looks abnormal and note when you first saw it. This helps you track whether a mark is stable or growing, and gives your installer useful context when you schedule a repair visit. A stable mark from a single rock impact behaves differently than a spreading edge lift.
Use routine washing as a reminder to inspect the film once it is clean and dry. Keep photographs and the installation paperwork; the repair scope, cost, and any warranty coverage need an installer assessment.
Rather have a pro handle it?
Same-week ceramic coating and PPF consultations across San Diego County. Get a vetted, insured local installer matched to your zip.
Keep learning.
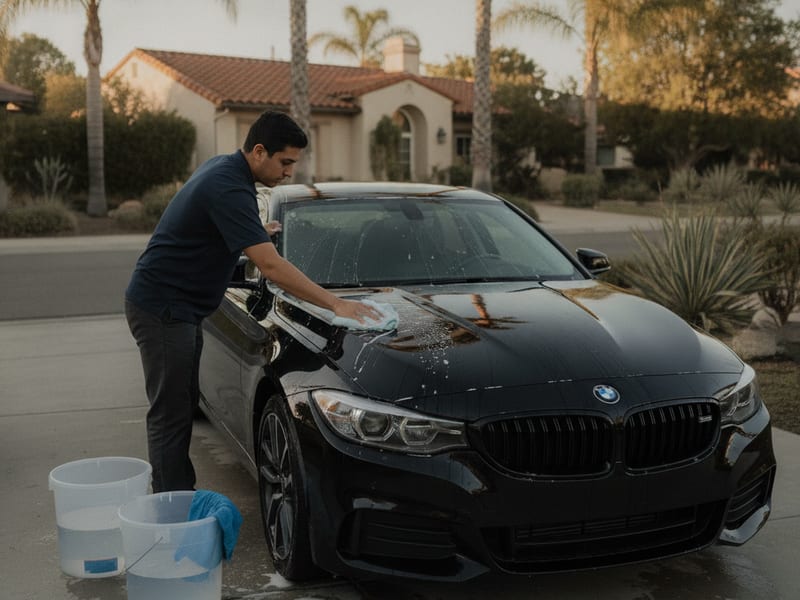
How to wash a ceramic-coated car correctly
A ceramic-coated car still needs washing. Remove loose dirt before touching the paint, use compatible products, and dry the surface so wash water does not leave mineral deposits.
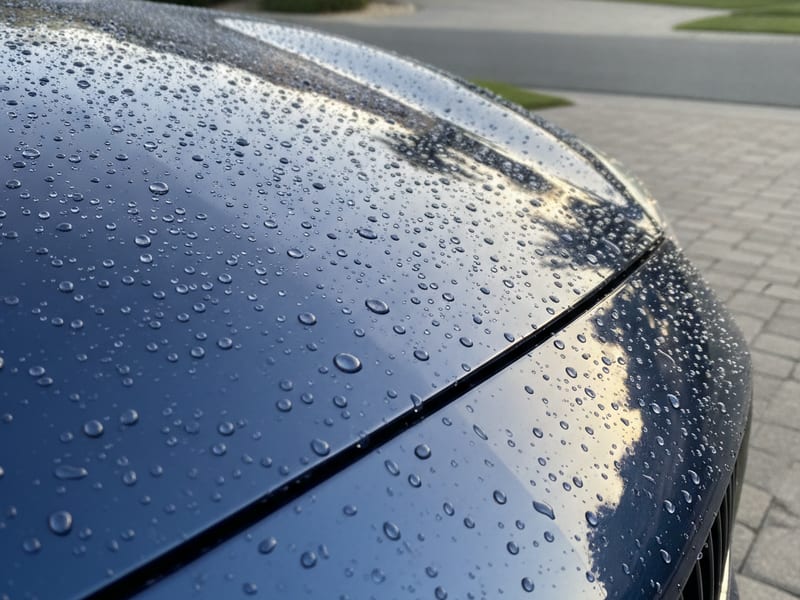
Water spot removal on ceramic-coated cars
Water that dries on a coated car can leave mineral deposits. Start with gentle cleaning and the coating care instructions; persistent marks may need professional assessment before stronger chemicals or polishing.
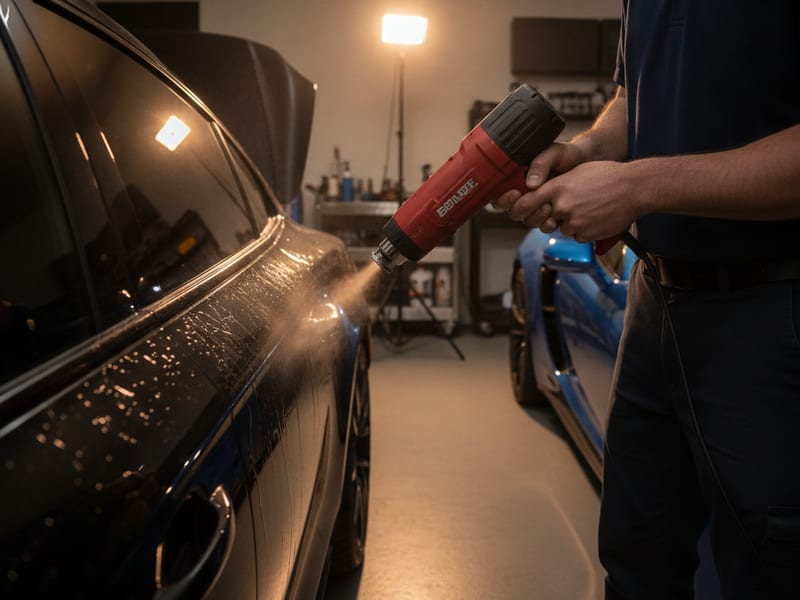
Preparing your car for ceramic coating
What you do in the days before a ceramic coating appointment affects how the coating bonds and how long it lasts. A few simple steps make a real difference in the installer's result.